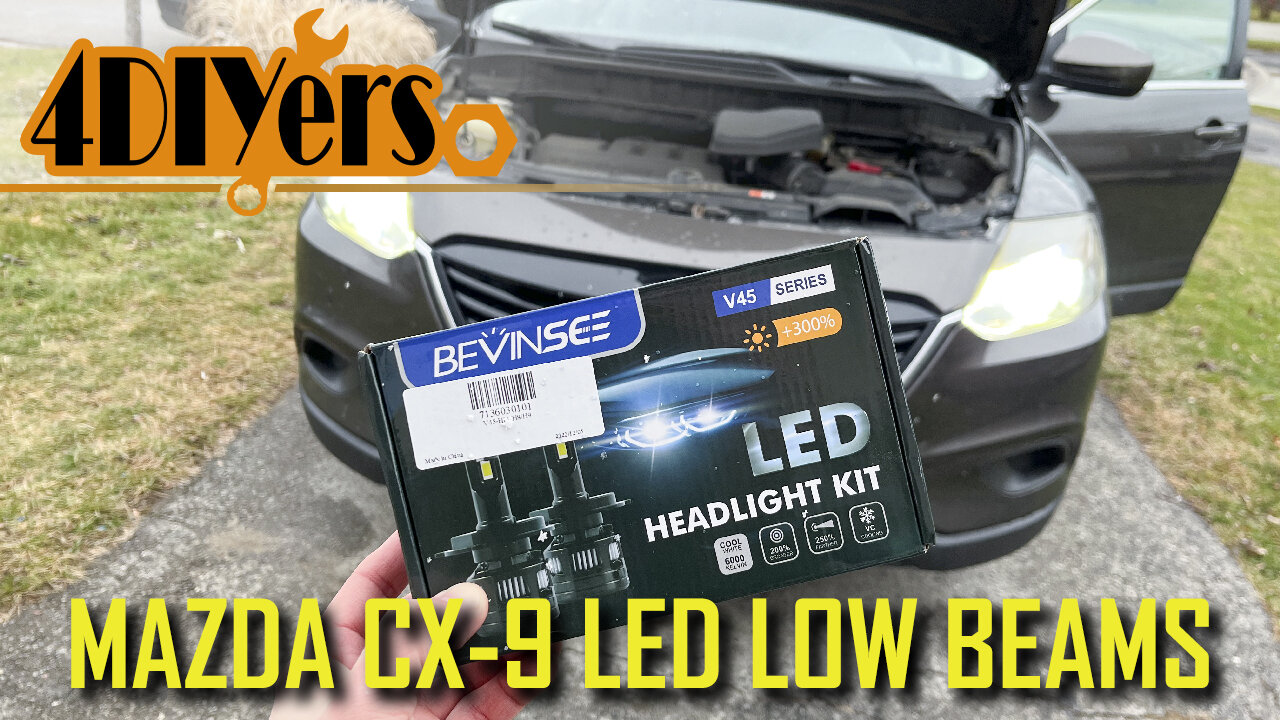
How to Upgrade the Low Beams on a Mazda CX 9 to LED
How to upgrade your headlights from halogen to LED in your Mazda CX9. This is a 2015 model which is the face-lifted version of the first generation, however this upgrade can be applied to other CX9 models along with other Mazda models as they are known to have dim headlight issues. This is my girlfriend’s vehicle, so a big shoutout to her for letting me use it for this demonstration. I will have a full in-depth review in the upcoming weeks. She was noticing extremely poor low beam, lighting performance while driving at night with the factory halogen bulbs. The headlight lenses are still in good condition so that isn’t having a huge effect on the light output. After some searching online, I did find that Mazda does have a common problem in this generation across the different models with poor headlight performance. #mazdacx9 #ledlights #Bevinsee
Product link: https://www.aliexpress.com/item/1005003116507952.html
$4.00 off over $39.00
10% Discount Code: BEVINSEEV451
Website: http://4diyers.com
Patreon: https://www.patreon.com/4diyers
Facebook: https://www.facebook.com/4diyers
Twitter: https://twitter.com/4DIYers
Instagram: https://www.instagram.com/4diyers/
Tumblr: http://4diyers.tumblr.com
Pintrest: https://www.pinterest.com/4diyers/
Tools/Supplies Needed:
-10mm socket
-3" extension
-3/8" drive ratchet
-new replacement bulbs
Procedure:
The replacement is fairly straightforward, minimal tools are needed.
Starting with the passenger side first. The coolant reservoir tank will need to be removed.
Using a 3/8 drive ratchet with a 3 inch extension and a 10 mm socket, remove the three bolts on the coolant reservoir.
Once those bolts have been removed, then you can push the reservoir back towards the windshield, do not disconnect the lines.
Remove the domed cover by rotating counterclockwise. Then to access the bulb, Unclipped the connector and rotate the bulb counterclockwise then pull it straight out. The camera angles for this are quite limited, however I’ll provide a better photo for the driver’s side.
Finally installing the new bulb replacement, plug in the electrical connector. These bulbs are polarity sensitive, so test the bulbs first before finalizing the installation. If it doesn’t work, simply rotate the connector 180 degrees.
When putting the bulb in the house, you’ll need to rotate the bulb and work by feel to find those alignment tabs, making sure they are properly in place. Push the bulb in, then rotate clockwise to lock it in. Always give the bulb a pullback to make sure it is locked in place.
Then fasten down the coolant reservoir. Install those 3 10mm bolts and tighten. Do not over tighten as this is only plastic.
Moving onto the driver’s side.
Again the domed cap will need to be removed behind the headlight. There will be plastic tabs around the perimeter of the domed cap, grab onto these and twist counterclockwise, then remove.
It was hard for me to get a camera in here without my hand being in the way. As you can see there is the bulb and wire connector.
You can unclip the connector first or after one the bulb is out, whatever is easier for you. For me, I pulled out the tang on the electrical connector and then pushed it off the light.
I then rotated the bulb counterclockwise, and pull out the bulb from the assembly.
Plug in the electrical connector for the bulb. Again make sure the polarity is correct. Then install the bulb into the headlight assembly, align those tabs, push the bulb into place and rotate clockwise until it stops.
Finally is installing the protective cap. Rotate until you can feel those alignment tabs lock into place, then rotate clockwise until it stops.
Here is a comparison between the old halogen on the left and the led upgrade on the right. The whiter light will greatly help with eye fatigue, there is a substantial increase in light output with the led, they greatly improve the aesthetics of the vehicle, have quicker startup time, and have a lower operating temperature reducing the deterioration of the plastic headlight lenses. The projector housing work great with LEDs as they help focus the light and don’t cause an irritant for fellow motorists.
Thank you to all those who watch my videos and support my content. Don't forget to subscribe to my channel for future tutorial videos and like my video if you found it helpful. New videos are always being uploaded every week!
© 4DIYers 2013
All Rights Reserved
No part of this video or any of its contents may be reproduced, copied, modified or adapted, without the prior written consent of the author.
-
 LIVE
LIVE
BEK TV
22 hours agoTrent Loos in the Morning - 12/19/2025
167 watching -
 18:47
18:47
stateofdaniel
2 days agoJD Vance DESTROYS Twisted Vanity Fair HIT PIECE Against President Trump and Susie Wiles
57.1K20 -
 15:42
15:42
Actual Justice Warrior
1 day agoWealthy New Jersey School District Goes BROKE Overnight
19.2K22 -
 29:15
29:15
James Klüg
1 day agoI Crashed An ANTI-ICE March In Portland
35.9K31 -
 45:40
45:40
Surviving The Survivor: #BestGuests in True Crime
18 hours agoLIVE Hearing: Kentucky Sheriff Mickey Stines Back in Court; Murder of Judge Kevin Mullins
20.6K1 -
 1:17:00
Man in America
15 hours ago6G Is Coming — And Your Body Will Be Part of the AI-Run Network w/ Kim Bright
308K79 -
 1:32:57
Inverted World Live
14 hours agoAttack of the Radioactive Fog in L.A. | Ep. 156
95.8K13 -
 3:42:12
Turning Point USA
17 hours agoLIVE NOW - AMFEST IS BACK - ERIKA KIRK, MICHAEL KNOWLES, TUCKER CARLSON, BEN SHAPIRO & RUSSELL BRAND
654K223 -
 2:39:04
TimcastIRL
12 hours agoMarijuana LEGALIZATION IS COMING, Trump Orders Weed To Schedule 3 In HUGE Move | Timcast IRL
142K134 -
 2:02:44
megimu32
11 hours agoON THE SUBJECT: CHRISTMAS CORE MEMORIES
63.2K7