Premium Only Content

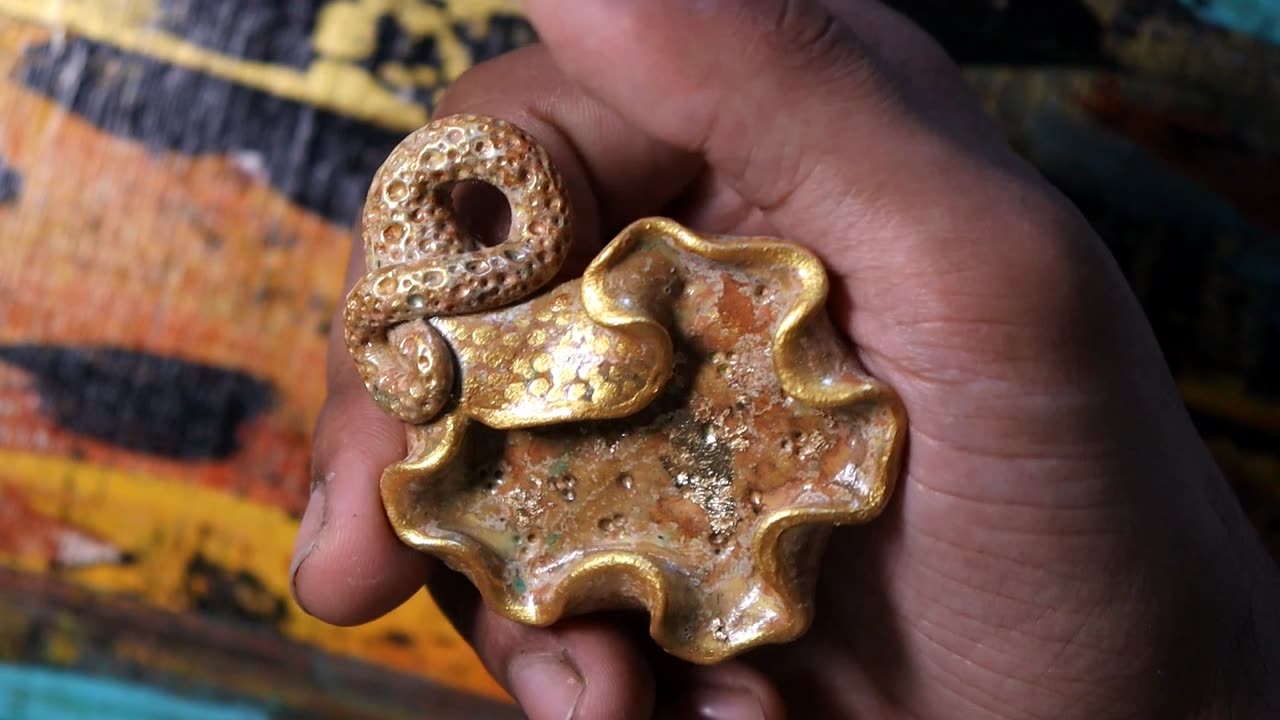
Handmade Diya making tutorial video || mouldit clay simple and easy DIY || home decor project
🕯️ Illuminate your home with the warmth of handmade Diya's! In this step-by-step tutorial, we'll guide you through the process of creating beautiful Diyas using Mouldit Clay. This simple and easy DIY project is perfect for adding a personal touch to your home decor or preparing for festive occasions.
🎨 Materials Needed:
Mouldit Clay
Rolling pin
Diya mold (available at craft stores)
Acrylic paints (assorted colors)
Paintbrushes
Gold/silver metallic paint (optional)
Varnish or sealant spray
Tea light candles
🔨 Step-by-Step Instructions:
1. Prepare Your Workspace:
Ensure you have a clean and spacious workspace. Lay down some newspaper or a plastic sheet to prevent any mess.
2. Knead the Clay:
Take a small portion of Mouldit Clay and knead it until it becomes soft and pliable. This will make it easier to work with.
3. Roll Out the Clay:
Using a rolling pin, roll out the clay to an even thickness. Make sure it's large enough to cover the Diya mold.
4. Press into Mold:
Gently press the rolled-out clay into the Diya mold, ensuring it takes on the shape of the mold. Trim any excess clay with a knife for a neat finish.
5. Remove from Mold:
Carefully remove the clay from the mold, taking your time to maintain the shape. Smooth out any imperfections with your fingers.
6. Let it Dry:
Allow the Diya to air-dry completely. This may take a few hours, depending on the thickness of the clay.
7. Paint Your Diya:
Once dry, it's time to get creative! Use acrylic paints to add vibrant colors to your Diya. Feel free to experiment with different patterns and designs. Let the paint dry completely.
8. Optional Metallic Touch:
For an extra touch of elegance, use gold or silver metallic paint to highlight certain areas of your Diya. This step is entirely optional but adds a lovely finish.
9. Seal with Varnish:
To protect your artwork and give it a polished look, spray the Diya with a coat of varnish or sealant. Allow it to dry completely.
10. Add a Tea Light:
Finally, place a tea light candle in the center of your handmade Diya. Light it up, and watch as your creation brings a warm and cozy atmosphere to your home.
🎥 Don't forget to watch the full video tutorial for a detailed visual guide! If you enjoyed this DIY project, give it a thumbs up, subscribe for more creative ideas, and share your handmade Diya creations with us in the comments below. Happy crafting! 🌟✨ #HandmadeDiyas #HomeDecor #CraftingTutorial #DiwaliCrafts
-
 1:32:46
Glenn Greenwald
5 hours agoHillary Blames TikTok for Anti-Israel Sentiment; MAGA Sycophants Gain Pentagon Press Access; Who Should Win Anti-Semite of the Year? See the Top 10 Finalists | SYSTEM UPDATE #552
109K89 -
 56:12
56:12
Flyover Conservatives
22 hours ago100% Chance the Grid Fails: Why No One Is Fixing It (and How Easy It Is) - Tommy Waller | FOC Show
19K4 -
 LIVE
LIVE
JDubGameN
4 hours agoStarlink Network Test Stream! | Road to 100 Followers
262 watching -
 2:17:31
The Daily Signal
7 hours ago $5.22 earned🚨BREAKING: Tennessee Congressional Election Results, Minneapolis Police to "Intervene" Against ICE,
24.8K6 -
 1:52:47
megimu32
3 hours agoON THE SUBJECT: Christmas Vacation Is UNTOUCHABLE!
14.8K4 -
 59:56
59:56
Sarah Westall
4 hours agoNeurostrike, Cognitive Targeting & the New Tech Arms Race w/ Professor Armin Krishnan
13.3K2 -
 2:52:28
Nikko Ortiz
6 hours agoNo More Gear Fear... | Rumble LIVE
21.8K1 -
 LIVE
LIVE
Razeo
4 hours agoTopside carnage with some fries.,
29 watching -
 1:03:17
BonginoReport
7 hours agoViolent Criminals Run Free in NY & CA - Nightly Scroll w/ Hayley Caronia (Ep.188) - 12/02/2025
125K40 -
 6:33:02
The Rabble Wrangler
20 hours agoBattlefield with The Best in the West
11K