Homemade Table Saw 4 Removable Insert and FineTuning
Materials Needed:
Plywood or MDF for the table saw top and base
Hardwood for the fence and miter gauge slots
Steel or aluminum angle iron for the fence rails
Steel tubing or rods for the miter gauge
Bolts, nuts, washers, and screws
Table saw motor, arbor, and blade
Inserts made from hardwood or plastic
Sandpaper
Wood glue
Finish (such as varnish or paint)
Tools Needed:
Saw (table saw, circular saw, or jigsaw)
Drill and bits
Router and router table (optional)
Screwdriver
Clamps
Measuring tape
Square
Step-by-Step Guide:
Build the Tabletop:
Cut a piece of plywood or MDF to the desired size for the table saw top. Ensure it is flat and smooth. Cut another piece for the base, slightly larger than the top, to provide stability.
Install the Motor and Arbor:
Mount the table saw motor and arbor to the underside of the tabletop according to the manufacturer's instructions. Ensure the arbor is aligned perpendicular to the table surface.
Cut Fence and Miter Gauge Slots:
Use a saw or router to cut slots in the tabletop for the fence and miter gauge to slide in. These slots should be straight and parallel to the blade.
Install Fence Rails:
Attach steel or aluminum angle iron to the front and back of the tabletop to serve as rails for the fence. Ensure they are straight and parallel to each other.
Build the Fence:
Construct a wooden fence with a T-shaped profile that slides along the rails smoothly. Install locking mechanisms to secure the fence in place during use.
Make Miter Gauge:
Create a miter gauge using steel tubing or rods mounted in hardwood blocks. Ensure the gauge slides smoothly in the miter slots and locks securely at the desired angles.
Fine-Tuning Mechanism:
Implement a fine-tuning mechanism to adjust the blade height and angle precisely. This could involve adding threaded rods with knobs or using a rack and pinion system.
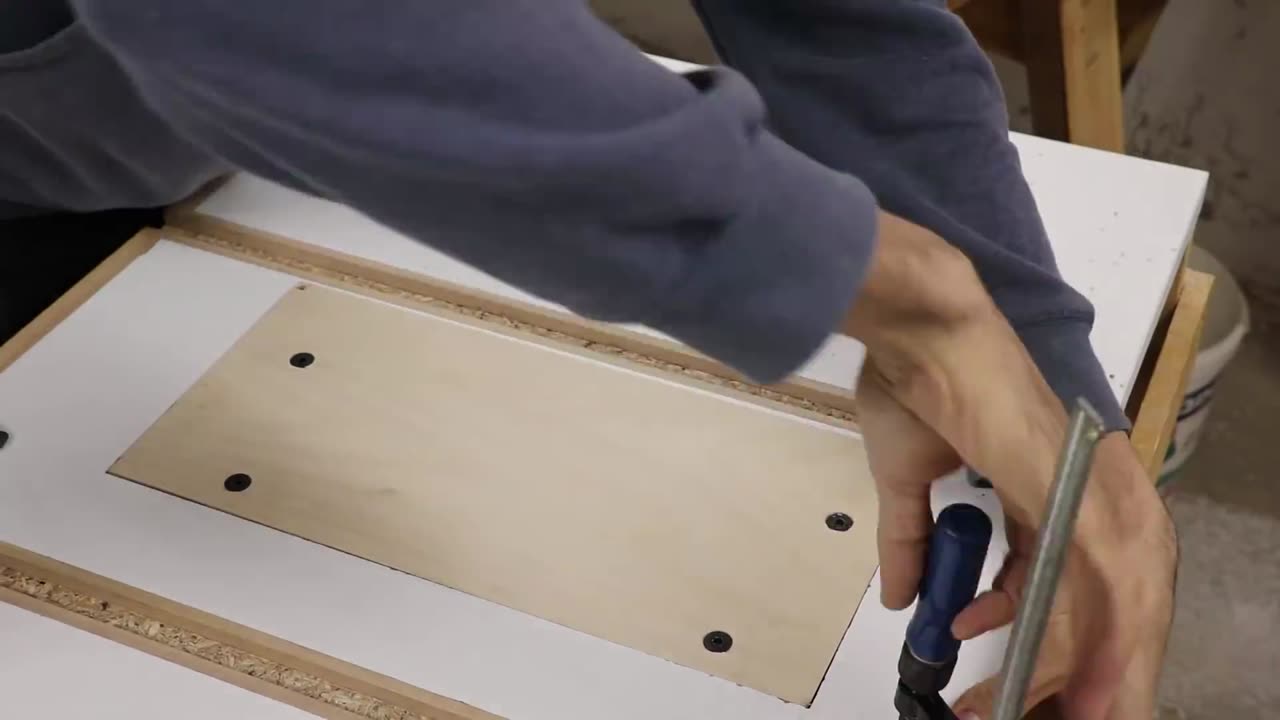
Create Removable Inserts:
Cut inserts from hardwood or plastic to fit into the table saw top around the blade. These inserts should be removable for blade changes and adjustments.
Sand and Finish:
Sand all surfaces of the table saw, including the tabletop, fence, and miter gauge, to remove any rough spots. Apply a finish of your choice to protect the wood and enhance its appearance.
Test and Adjust:
Before using the homemade table saw for woodworking projects, test all components to ensure they function smoothly and accurately. Make any necessary adjustments to achieve optimal performance.
Use and Enjoy:
With your homemade table saw complete, you're ready to start using it for a variety of woodworking tasks. Whether you're ripping boards or making precision cuts, your custom-built table saw will provide reliable performance and versatility in your workshop.
-
 LIVE
LIVE
MissesMaam
5 hours agoStardew Co-Op 💚✨
117 watching -
 1:32:46
Glenn Greenwald
6 hours agoHillary Blames TikTok for Anti-Israel Sentiment; MAGA Sycophants Gain Pentagon Press Access; Who Should Win Anti-Semite of the Year? See the Top 10 Finalists | SYSTEM UPDATE #552
119K94 -
 56:12
56:12
Flyover Conservatives
23 hours ago100% Chance the Grid Fails: Why No One Is Fixing It (and How Easy It Is) - Tommy Waller | FOC Show
25.5K9 -
 LIVE
LIVE
JDubGameN
4 hours agoStarlink Network Test Stream! | Road to 100 Followers
472 watching -
 2:17:31
The Daily Signal
7 hours ago $5.82 earned🚨BREAKING: Tennessee Congressional Election Results, Minneapolis Police to "Intervene" Against ICE,
31.7K6 -
 1:52:47
megimu32
4 hours agoON THE SUBJECT: Christmas Vacation Is UNTOUCHABLE!
19.3K4 -
 59:56
59:56
Sarah Westall
5 hours agoNeurostrike, Cognitive Targeting & the New Tech Arms Race w/ Professor Armin Krishnan
16.1K4 -
 2:52:28
Nikko Ortiz
7 hours agoNo More Gear Fear... | Rumble LIVE
24.2K1 -
 LIVE
LIVE
Razeo
5 hours agoTopside carnage with some fries.,
53 watching -
 1:03:17
BonginoReport
7 hours agoViolent Criminals Run Free in NY & CA - Nightly Scroll w/ Hayley Caronia (Ep.188) - 12/02/2025
128K43