Premium Only Content

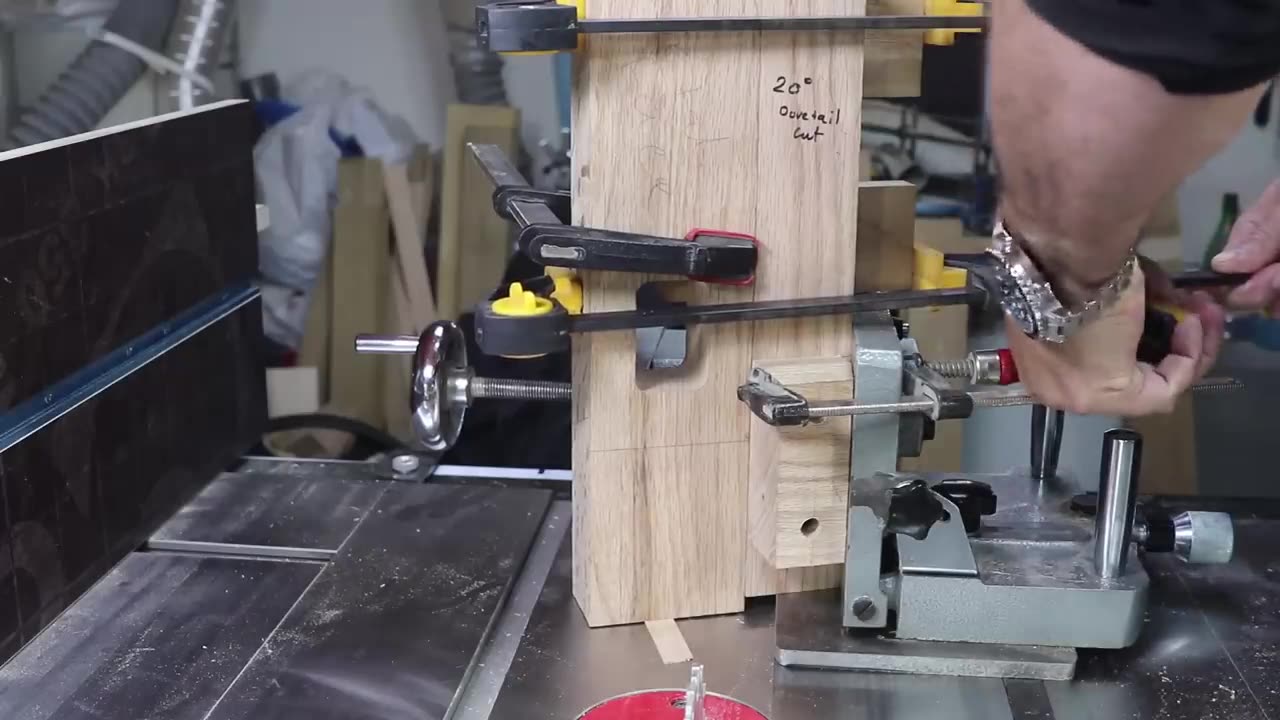
The Dwarfed Behemoth Roubo Bench with Arms (The making of the body).
Materials Needed:
Hardwood lumber for the benchtop, legs, and stretchers (such as maple, beech, or oak)
Wood glue
Screws or dowels for joinery
Clamps
Sandpaper
Finish (such as oil or varnish)
Tools Needed:
Table saw or circular saw
Planer or hand planes
Jointer or hand plane
Drill and drill bits
Chisels
Mallet
Router and router bits (optional)
Bench vise (optional but helpful)
Measuring tools (tape measure, square, marking gauge)
Step-by-Step Guide:
Design Planning:
Start by creating a detailed design for your Roubo bench, taking into account the dimensions, proportions, and features you want to incorporate. The "Dwarfed Behemoth" variation may include shorter legs and a more compact overall size compared to a traditional Roubo bench.
Prepare the Lumber:
Mill your hardwood lumber to the appropriate dimensions for the benchtop, legs, and stretchers. Use a table saw, planer, and jointer to achieve smooth, flat surfaces and precise dimensions.
Cut the Components:
Cut the benchtop, legs, and stretchers to size according to your design. Double-check your measurements to ensure accuracy.
Joinery:
Choose your preferred joinery method for connecting the benchtop to the legs and stretchers. Traditional options for a Roubo bench may include mortise and tenon joints or dovetails. Use a combination of hand tools and power tools to cut the joinery accurately.
Assemble the Body:
Dry-fit the benchtop, legs, and stretchers to ensure everything fits together properly before gluing. Apply wood glue to the joints and assemble the components, clamping them securely until the glue dries. Check for squareness during assembly.
Optional Features:
Depending on your design, you may want to incorporate additional features such as dog holes, a tool tray, or a vise. Install these features according to your design plan, using appropriate hardware and techniques.
Final Shaping and Smoothing:
Once the glue has dried, remove any excess glue squeeze-out and sand the entire bench body to smooth out any rough surfaces or edges. Pay attention to detail, ensuring that all surfaces are uniform and free of defects.
Finish:
Apply a finish of your choice to protect the wood and enhance its appearance. Options include oil, varnish, or shellac. Follow the manufacturer's instructions for application and drying times.
Fine-Tuning:
Once the finish has dried, perform any final adjustments or fine-tuning to ensure that the bench body is sturdy, level, and square. Check for any wobble or instability and make any necessary corrections.
Celebrate Your Progress:
With the body of "The Dwarfed Behemoth Roubo Bench with Arms" complete, take a moment to celebrate your progress and the craftsmanship you've achieved so far. The body is the foundation of the bench, and completing this step is a significant milestone in the project.
By following these steps and paying careful attention to detail, you can successfully create the body of your Roubo bench, setting the stage for the next steps in the construction process.
-
 1:07:36
Chad Prather
19 hours agoThe Power You Cannot Buy: Motives, Power, and the Making of a True Disciple
59.8K24 -
 LIVE
LIVE
LFA TV
12 hours agoLIVE & BREAKING NEWS! | THURSDAY 12/04/25
3,117 watching -
 1:59:55
The Chris Salcedo Show
13 hours ago $3.54 earnedDispelling Narrative Over Facts On Racism
14.8K3 -
 16:09
16:09
T-SPLY
18 hours agoFederal Agents Arrest Non Citizen Police Officer — Department Hires Him BACK!
40.7K41 -
 12:55
12:55
World2Briggs
20 hours ago $4.66 earnedTop 10 States With The Worst Weather | Natural Disasters
24.4K -
 21:52
21:52
The King of Camo
22 hours agoGOALS 2026 Range Day
20.6K2 -
 48:22
48:22
A Cigar Hustlers Podcast Every Day
1 day agoEpisode 421 Cigar Hustlers Podcast Every Week Day Rage Bait
24.6K3 -
 2:05:49
BEK TV
1 day agoTrent Loos in the Morning - 12/04/2025
20K2 -
 2:55
2:55
Canadian Crooner
2 years agoPat Coolen | Christmas Blues
50.2K1 -
 4:02:17
The Bubba Army
1 day agoPHOTOS REVEALED FROM EPSTEIN ISLAND! - Bubba the Love Sponge® Show | 12/04/25
53K5