Premium Only Content

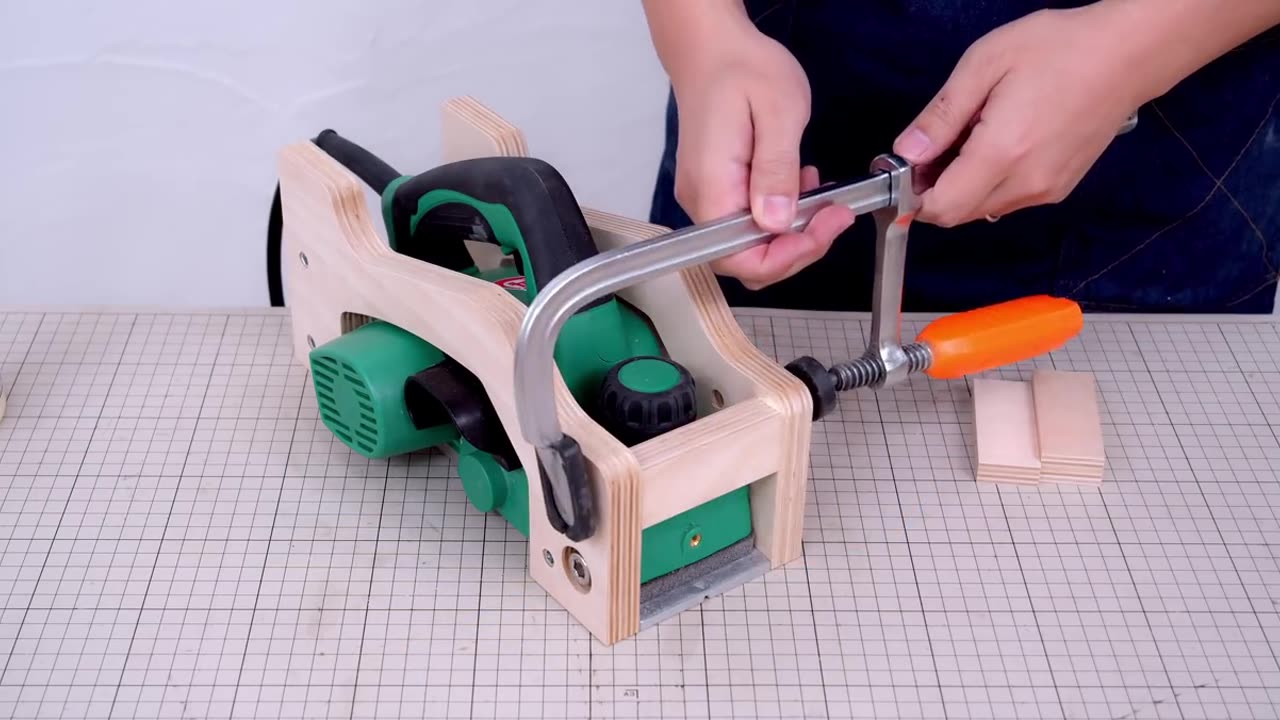
Planer slide jig - Rig System Part.1
Creating a planer slide jig or rig system can be an efficient way to achieve precise and consistent results when working with a planer. Here's an outline for Part 1 of such a project:
Introduction:
Briefly introduce the purpose of the planer slide jig and its benefits for woodworking projects.
Mention the focus of Part 1, which could be designing and constructing the base or framework of the rig system.
Materials Needed:
List the materials required for this part of the project, such as:
Sturdy plywood or MDF for the base
Aluminum or steel rails for the sliding mechanism
Screws, bolts, and nuts
Clamps or brackets for securing the planer
Safety equipment (goggles, gloves, etc.)
Tools Needed:
Provide a list of tools necessary for the construction process, including:
Circular saw or jigsaw for cutting materials
Drill and drill bits for making holes
Screwdriver or wrench for assembly
Measuring tape and pencil for marking
Construction Steps:
Design and Layout:
Discuss the design considerations for the base or framework, such as size, shape, and stability.
Use sketches or diagrams to illustrate the layout and dimensions of the components.
Cutting the Base:
Measure and mark the plywood or MDF according to the design specifications.
Use a circular saw or jigsaw to cut the base to the desired size and shape.
Assembling the Rails:
Attach the aluminum or steel rails to the base using screws or bolts.
Ensure the rails are aligned parallel to each other and spaced appropriately for the planer to slide smoothly.
Securing the Planer:
Install clamps or brackets on the base to secure the planer in place.
Consider adding adjustable features to accommodate different sizes or models of planers.
Safety Precautions:
Remind viewers to wear appropriate safety gear, such as goggles and gloves, when working with power tools and sharp materials.
Emphasize the importance of following safety guidelines and manufacturer instructions throughout the construction process.
Conclusion:
Summarize the key steps covered in Part 1 of the project.
Encourage viewers to stay tuned for Part 2, where additional components or features of the planer slide jig will be discussed.
By following these guidelines, you can create an informative and engaging Part 1 video for your planer slide jig project.
-
 LIVE
LIVE
SpartakusLIVE
5 hours agoTrios w/ The BOYS on WZ and then we're teaching Jean ARC RAIDERS
1,177 watching -
 2:55:52
SOLTEKGG
3 hours agoLIVE - NOT LOSING A MATCH - NEW PC - !pc
16.8K2 -
 LIVE
LIVE
ThatStarWarsGirl
3 hours agoTSWG LIVE: Stargate Is BACK! EFAPing Michael Shanks Interview with GUEST!!!
245 watching -
 LIVE
LIVE
MissesMaam
4 hours agoStardew Co-Op 💚✨
47 watching -
 1:32:46
Glenn Greenwald
5 hours agoHillary Blames TikTok for Anti-Israel Sentiment; MAGA Sycophants Gain Pentagon Press Access; Who Should Win Anti-Semite of the Year? See the Top 10 Finalists | SYSTEM UPDATE #552
109K89 -
 56:12
56:12
Flyover Conservatives
22 hours ago100% Chance the Grid Fails: Why No One Is Fixing It (and How Easy It Is) - Tommy Waller | FOC Show
19K4 -
 LIVE
LIVE
JDubGameN
4 hours agoStarlink Network Test Stream! | Road to 100 Followers
275 watching -
 2:17:31
The Daily Signal
7 hours ago $5.22 earned🚨BREAKING: Tennessee Congressional Election Results, Minneapolis Police to "Intervene" Against ICE,
24.8K6 -
 1:52:47
megimu32
3 hours agoON THE SUBJECT: Christmas Vacation Is UNTOUCHABLE!
14.8K4 -
 59:56
59:56
Sarah Westall
4 hours agoNeurostrike, Cognitive Targeting & the New Tech Arms Race w/ Professor Armin Krishnan
13.3K2