Electric plane angle adjustment jig - Rig System Part.4
For Part 4 of your electric plane angle adjustment jig rig system project, you could focus on the construction and installation of the angle adjustment mechanism. Here's a rough outline for the video:
Introduction:
Briefly recap the purpose of the project and the progress made in previous parts.
Introduce the focus of Part 4: building the angle adjustment mechanism for the electric plane.
Materials Needed:
List the materials required for this part of the project, such as:
Angle brackets or hinges
Screws, bolts, and nuts
Wing nuts or knobs for adjusting
Drill and drill bits
Measuring tape and pencil
Tools Needed:
Provide a list of tools necessary for the construction process, including:
Drill and drill bits for making holes
Screwdriver or wrench for assembly
Saw (if modifications are needed)
Measuring tape and pencil for marking
Construction Steps:
Designing the Angle Adjustment Mechanism:
Discuss the design considerations for the mechanism, such as range of adjustment and ease of use.
Sketch out the design and explain how it will function.
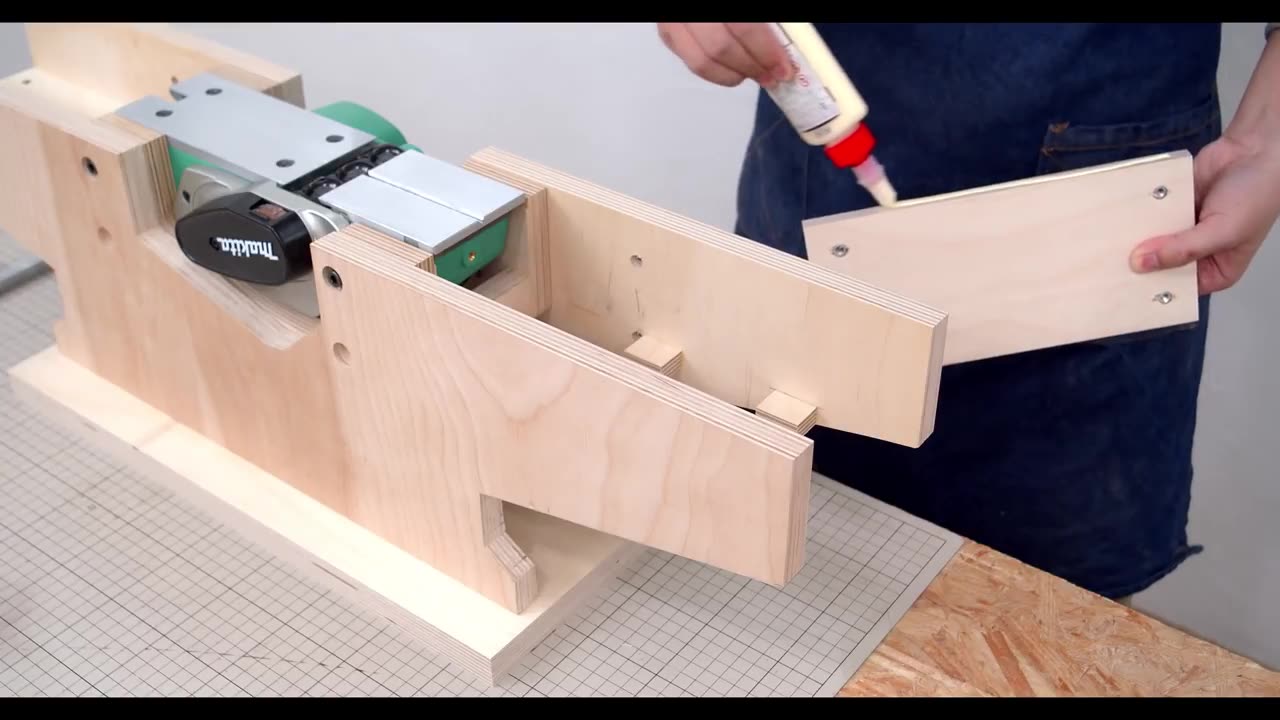
Preparing the Components:
Cut or modify the angle brackets or hinges as needed to fit the dimensions of the electric plane and the rig system.
Installing the Mechanism:
Attach the angle brackets or hinges to the base of the rig system using screws or bolts.
Ensure that the mechanism is securely mounted and allows for smooth adjustment of the angle.
Adding Adjustment Controls:
Install wing nuts or knobs on the angle brackets or hinges to provide a means of adjusting the angle of the electric plane.
Test the adjustment mechanism to ensure that it functions properly and allows for precise angle control.
Safety Precautions:
Remind viewers to exercise caution when working with power tools and sharp materials.
Emphasize the importance of following safety guidelines and manufacturer instructions throughout the construction process.
Conclusion:
Summarize the key steps covered in Part 4 of the project.
Preview the next part of the series, where you will demonstrate the completed electric plane angle adjustment jig in action.
By following this outline, you can create an informative and engaging Part 4 video for your electric plane angle adjustment jig rig system project.
-
 LIVE
LIVE
Crypto Power Hour
9 hours agoVanguard Finally! XRP ETF’s
3,593 watching -
 13:40
13:40
ARFCOM News
15 hours ago $0.12 earnedHis Wife Got Cancer So They Took His Guns + DoJ's 2A Rights Division + Trump Slump Continues
2982 -
 13:19
13:19
Degenerate Jay
16 hours agoThis Fallout: New Vegas Discovery Could Change Everything
120 -
 33:35
33:35
ArturRehi
19 hours agoNERVES OF STEEL - American Fighters Are not Easy to Frighten in Ukraine
261 -
 LIVE
LIVE
BEK TV
22 hours agoTrent Loos in the Morning - 12/03/2025
241 watching -
 LIVE
LIVE
The Bubba Army
21 hours agoTRUMP SAYS NO MORE INCOME TAX? - Bubba the Love Sponge® Show | 12/03/25
1,630 watching -
 LIVE
LIVE
FyrBorne
11 hours ago🔴Battlefield REDSEC Live M&K Gameplay: Testing Sleeper Loadouts
59 watching -
 28:54
28:54
ZeeeMedia
15 hours agoREAL ID Non-Compliance Fees from 2026 & WW3 Escalation | Daily Pulse Ep 154
5.49K29 -
 LIVE
LIVE
PudgeTV
2 hours ago🔴 Sea of Thieves - Gaming on Rumble | The Three Rumskateers Go Sailing Again!!
120 watching -
 LIVE
LIVE
Midnight In The Mountains™
29 minutes agoMorning Coffee w/ Midnight & The Early Birds of Rumble | Pudge Made me LATE! |
90 watching