How To Make A Sliding Dovetail Joint on the Table Saw _ Woodworking
Creating a sliding dovetail joint on a table saw requires precision and careful attention to detail. Here's a step-by-step guide to making a sliding dovetail joint using a table saw:
Materials and Tools Needed:
Hardwood lumber for the joint components
Table saw with dado blade or router table with dovetail bit
Miter gauge or sled for guiding the workpiece
Dovetail jig (optional, but recommended for more precise cuts)
Measuring tape, pencil, and straight edge
Clamps
Chisel and mallet (for fine-tuning the fit)
Step-by-Step Instructions:
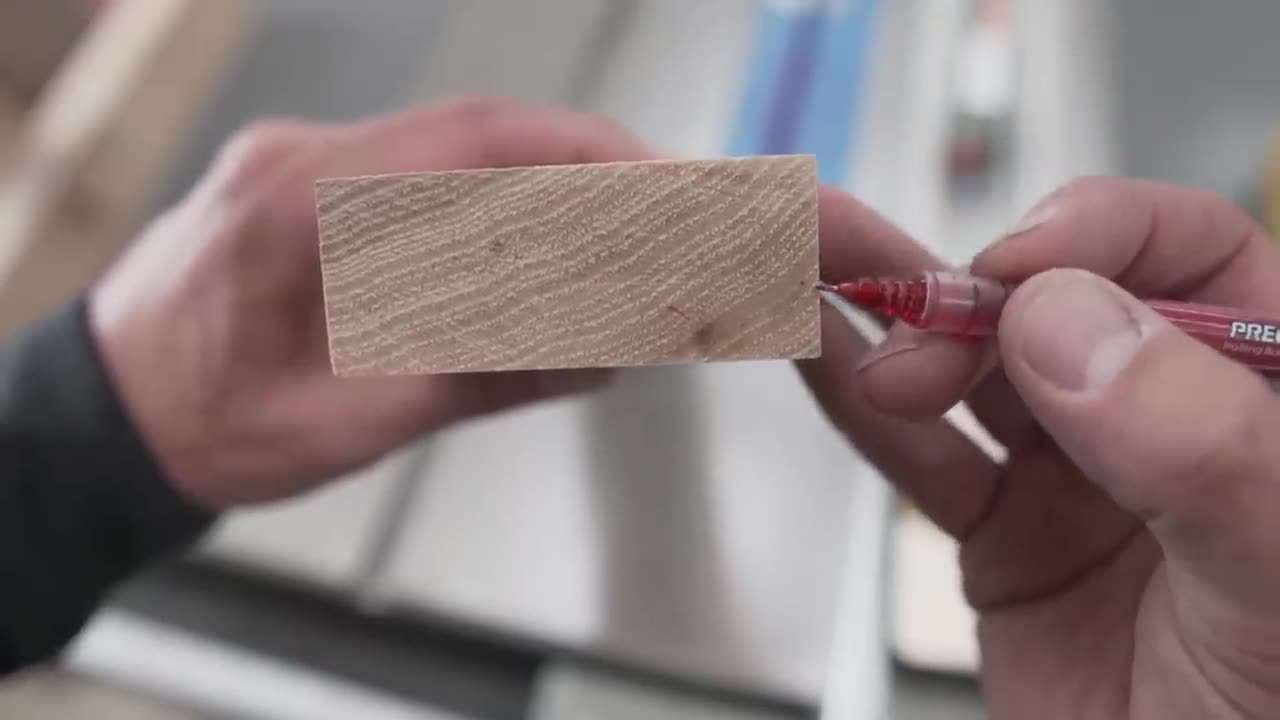
Prepare the workpieces: Cut the boards to the desired dimensions and mark the location of the dovetail joint on each piece. One board will have the dovetail "tail," and the other will have the dovetail "socket."
Set up the table saw: Install a dado blade on the table saw and adjust the height to match the thickness of the dovetail joint. Set the fence to position the dado blade at the correct distance from the blade.
Make test cuts: Use scrap pieces of wood to make test cuts and fine-tune the setup of the table saw. Make adjustments to the height and position of the dado blade as needed to achieve the desired fit for the joint.
Cut the dovetail sockets: Place the board that will receive the dovetail joint against the fence of the table saw and use a miter gauge or sled to guide it through the blade. Make multiple passes to remove material and create the dovetail socket. Take care to keep the workpiece flat against the table and fence to ensure straight and even cuts.
Cut the dovetail tails: Place the board that will form the dovetail joint on edge against the table saw fence and use the miter gauge or sled to guide it through the blade. Make multiple passes to remove material and create the dovetail tails. Again, keep the workpiece flat against the table and fence to ensure accuracy.
Dry-fit the joint: Test the fit of the dovetail joint by sliding the tail into the socket. The joint should be snug but not too tight. Use a chisel and mallet to fine-tune the fit if necessary.
Glue and assemble the joint: Apply wood glue to the mating surfaces of the joint and carefully assemble the pieces. Use clamps to hold the joint securely while the glue dries.
Sand and finish: Once the glue has dried, sand the joint smooth and apply a finish of your choice to protect the wood and enhance its appearance.
By following these steps and taking your time to ensure accuracy, you can create a strong and visually appealing sliding dovetail joint using a table saw.
-
 LIVE
LIVE
Badlands Media
7 hours agoBadlands Daily – Dec. 1, 2025:
3,060 watching -
 LIVE
LIVE
Matt Kohrs
12 hours agoStocks Drop, Crypto Plummets & The Week Ahead || Live Day Trading
577 watching -
 LIVE
LIVE
Wendy Bell Radio
5 hours agoThe Dam Has Broken
8,037 watching -
 1:18:54
MTNTOUGH Podcast w/ Dustin Diefenderfer
8 hours agoAdam Davis: Cop Abused as Child Contemplates Suicide, Finds God & Becomes Warrior | MTNPOD #144
72 -
 1:12:14
Chad Prather
16 hours agoAlignment, Anointing, and the Battle for Your Focus
51K25 -
 11:16
11:16
Paul Joseph Watson
5 hours agoEveryone Is Afraid
19.1K38 -
 LIVE
LIVE
LFA TV
15 hours agoLIVE & BREAKING NEWS! | MONDAY 12/01/25
2,870 watching -
 1:56:09
The Chris Salcedo Show
20 hours ago $5.72 earnedHow Much More Will Americans Take?!
14.3K1 -
 1:29:47
LIVE WITH CHRIS'WORLD
13 hours agoTHE WAKE UP CALL - 12/01/2025 - Episode 15
26.8K3 -
 1:33:52
Game On!
16 hours ago $1.74 earnedUnderdogs WIN BIG In The NFL Week 13 Games!
16.8K2