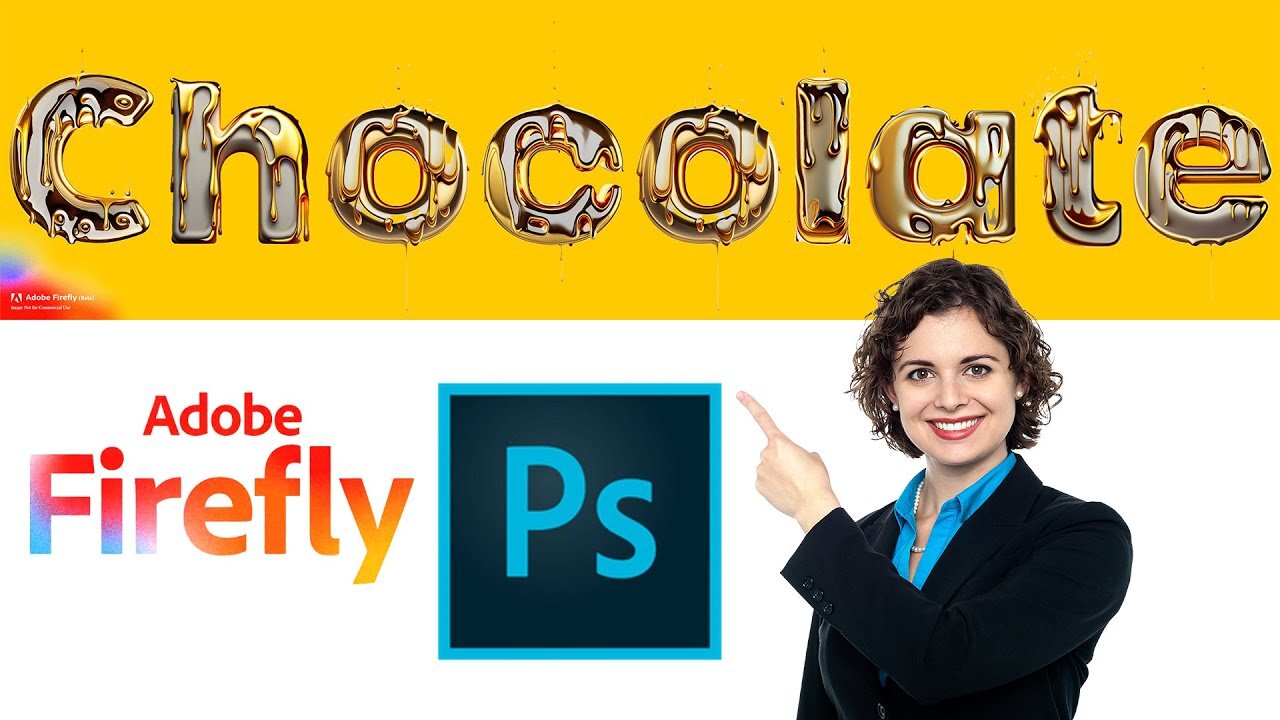
Creating a melting chocolate text effect in Photoshop is a fun and creative way
Creating a melting chocolate text effect in Photoshop is a fun and creative way to enhance your design skills. Here's a step-by-step guide to achieving this effect, along with a suggested video description for your YouTube short:
### Step-by-Step Guide to Creating a Melting Chocolate Text Effect
**1. Create a New Document:**
- Open Photoshop and create a new document with your desired dimensions (e.g., 1920x1080 pixels).
**2. Add Background:**
- Fill the background layer with a chocolate-like color using the Paint Bucket Tool (`G`) or create a new layer and fill it with a gradient that mimics chocolate.
**3. Add Text:**
- Select the Horizontal Type Tool (`T`) and type your desired text. Choose a thick, bold font for the best effect.
- Position the text in the center of the canvas.
**4. Apply Layer Styles:**
- Right-click on the text layer and select **Blending Options**.
- Apply the following styles:
- **Bevel & Emboss:** Set the style to `Inner Bevel`, technique to `Smooth`, depth around `300%`, size to `10px`, soften to `0px`, and adjust the angle to give it a soft shadow.
- **Gradient Overlay:** Use a gradient that resembles chocolate. Adjust the angle and scale to make it look realistic.
- **Drop Shadow:** Apply a subtle shadow to give the text some depth.
**5. Create the Melting Effect:**
- Duplicate the text layer (`Ctrl + J` or `Cmd + J`).
- Convert the duplicate layer to a smart object by right-clicking on the layer and selecting **Convert to Smart Object**.
- Go to **Filter > Liquify** (`Shift + Ctrl + X` or `Shift + Cmd + X`).
- Use the **Forward Warp Tool** to drag parts of the text downward, creating a melting effect. Adjust the brush size as needed.
**6. Enhance the Effect:**
- Add a new layer above the text and use the Brush Tool (`B`) to paint small chocolate drips. Use a soft round brush and sample colors from your text to make it look natural.
- Use the Smudge Tool to refine the drips and blend them into the text.
**7. Final Touches:**
- Adjust the overall color and contrast using adjustment layers like **Brightness/Contrast** or **Hue/Saturation** to match the chocolate theme.
- Add any additional elements, like highlights or sparkles, to enhance the effect.
### YouTube Video Description
"Learn how to create a deliciously realistic melting chocolate text effect in Photoshop! This easy-to-follow tutorial will guide you through the steps to transform your text into mouthwatering chocolate art. Perfect for graphic designers and Photoshop enthusiasts looking to sweeten up their projects. 🍫✨
**🔔 Subscribe for more creative tutorials!**
#Photoshop #ChocolateEffect #GraphicDesign #TextEffect #PhotoshopTutorial #CreativeDesign"
-
 LIVE
LIVE
Trumpet Daily
1 hour agoTrumpet Daily LIVE | Nov. 28, 2025
449 watching -
 LIVE
LIVE
LFA TV
15 hours agoLIVE & BREAKING NEWS! | FRIDAY 11/28/25
6,838 watching -
 2:00:18
Badlands Media
11 hours agoBadlands Daily – Nov. 28, 2025
90.1K13 -
 2:18:44
Nikko Ortiz
3 hours agoVR Ghost Of Tabor... | Rumble LIVE
12.2K2 -
 19:08
19:08
ThinkStory
4 hours agoSTRANGER THINGS SEASON 5 Volume 1 Ending Explained, Theories, & Details You Missed!
12.2K1 -
 LIVE
LIVE
Viss
2 hours ago🔴LIVE - Pushing Every Raid To It's Absolute Limit! - Arc Raiders
157 watching -
 16:48
16:48
MetatronGaming
5 days agoI bought a 1998 Vintage Computer and turned it on after 27 years!
8.29K7 -
 LIVE
LIVE
This is the Ray Gaming
1 hour ago $0.34 earnedHappy Black Fri-RAY | Rumble Premium Creator
79 watching -
 1:03:47
The Mike Schwartz Show
15 hours agoTHE MIKE SCHWARTZ SHOW with DR. MICHAEL J SCHWARTZ 11-28-2025
17.3K6 -
 7:02
7:02
DEADBUGsays
6 hours agoThe Murder of Kathy Halle | Solved #19
7.43K2