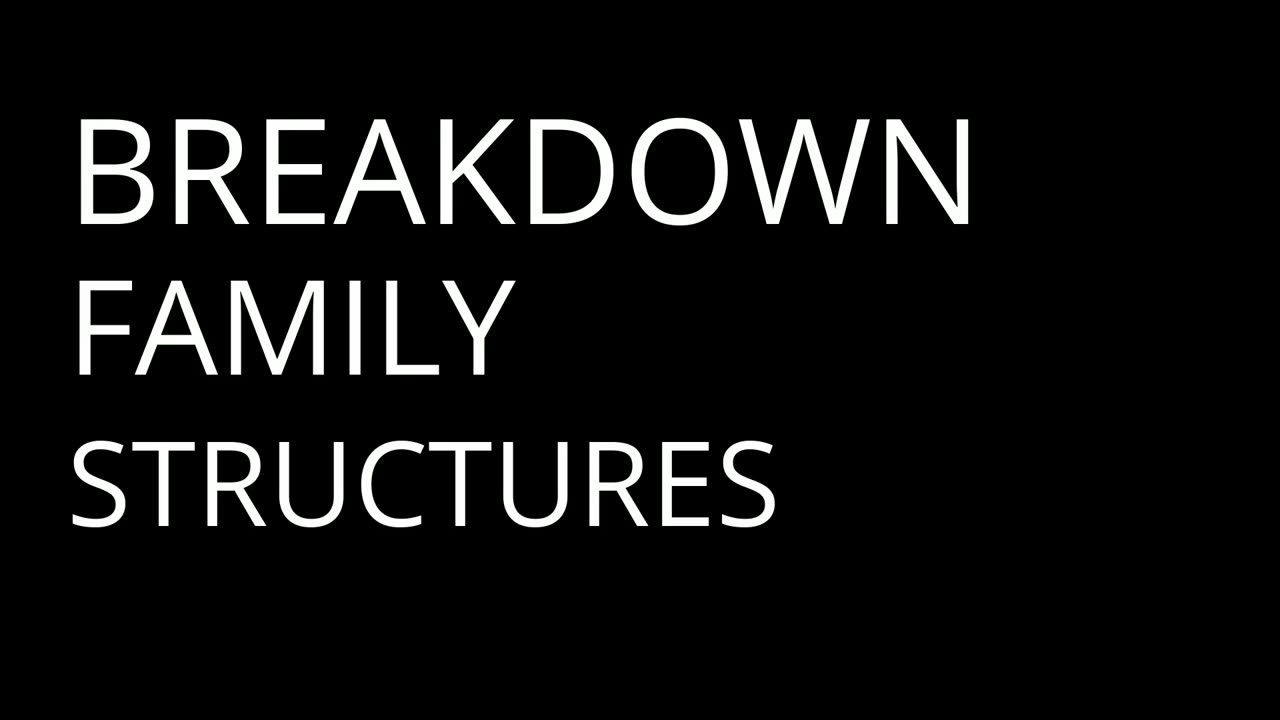
Mixing Mayhem: The Price of Free Mixing - Part 3
7 months ago
5
DISCLAIMER: We urge to learn and abide by all local laws. Any illegal activity or violence is condemned. In the third paragraph, the focus shifts to the broader societal implications of free mixing, discussing how it can erode community values, lead to increased crime and violence, and create a disconnect between parents and children.
Loading comments...
-
 0:38
0:38
YDNK?NYK! (You did not know? Now you know!)
6 months agoThe Dark Dance of Euphoria | Edgar Allan Poe - Part 4
38 -
 28:48
28:48
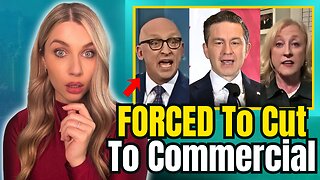
Jasmin Laine
18 hours agoCBC PANICS—Narrative COLLAPSES & They Blame TRUMP Live on TV
16.1K22 -
 19:17
19:17
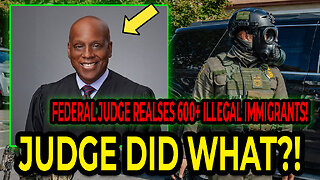
T-SPLY
17 hours agoFederal Judge Prepares To Release Illegal Immigrants "Back Into Chicago!
11.3K22 -
BEK TV
1 day agoTrent Loos in the Morning - 11/14/2025
12.7K -
 19:26
19:26
The Official Steve Harvey
16 hours ago $1.14 earnedGoing Viral Ain’t Luck — It’s Consistency
10.2K -
 11:04
11:04
TheSaltyCracker
18 hours agoEpstein Email Alleges Hillary Had Sexual Affair with ‘Suicided’ Vince Foster
85.6K184 -
 54:26
54:26
ZeeeMedia
14 hours agoWhy America Needs Radical Change & The New Governor of NY? ft. Larry Sharpe | Daily Pulse Ep 143
25.3K7 -
 16:17
16:17
stateofdaniel
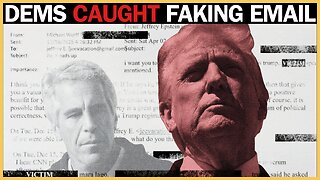
1 day agoDems Caught EDITING Epstein Emails to FRAME Trump
27.9K31 -
 13:52
13:52
Comedy Dynamics
1 day agoSam Tallent Roasting the Audience
54.3K3 -
 16:28
16:28
Nikko Ortiz
19 hours agoPainful Fails That HURT To Watch...
49.2K10