Shelly Cashman PowerPoint 365/2021 | Module 2: SAM Project 1b | Spring Gardening Tips (Update 2025)
Shelly Cashman PowerPoint 365/2021 | Module 2: SAM Project 1b
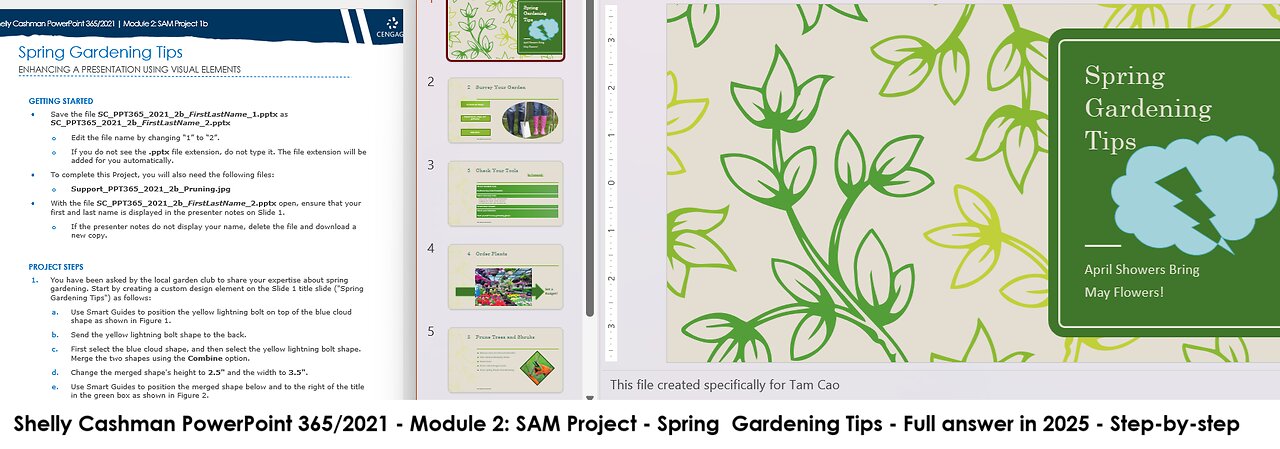
Spring Gardening Tips
ENHANCING A PRESENTATION USING VISUAL ELEMENTS
GETTING STARTED
• Save the file SC_PPT365_2021_2b_FirstLastName_1.pptx as SC_PPT365_2021_2b_FirstLastName_2.pptx
o Edit the file name by changing “1” to “2”.
o If you do not see the .pptx file extension, do not type it. The file extension will be added for you automatically.
• To complete this Project, you will also need the following files:
o Support_PPT365_2021_2b_Pruning.jpg
• With the file SC_PPT365_2021_2b_FirstLastName_2.pptx open, ensure that your first and last name is displayed in the presenter notes on Slide 1.
o If the presenter notes do not display your name, delete the file and download a new copy.
PROJECT STEPS
1. You have been asked by the local garden club to share your expertise about spring gardening. Start by creating a custom design element on the Slide 1 title slide ("Spring Gardening Tips") as follows:
a. Use Smart Guides to position the yellow lightning bolt on top of the blue cloud shape as shown in Figure 1.
b. Send the yellow lightning bolt shape to the back.
c. First select the blue cloud shape, and then select the yellow lightning bolt shape. Merge the two shapes using the Combine option.
d. Change the merged shape's height to 2.5" and the width to 3.5".
e. Use Smart Guides to position the merged shape below and to the right of the title in the green box as shown in Figure 2.
Figure 1: Position for Shapes on Slide 1
Figure 2: Position for Merged Shape on Slide 1
2. On Slide 2 ("Survey Your Garden"), copy and align shapes to highlight key points as follows:
a. Copy one of the rectangular shapes, and then paste it on the same slide.
b. Change the text to:
Rake Beds
c. Use Smart Guides to position the "Rake Beds" rectangle beneath the other rectangles, as shown in Figure 3.
d. Use Align Right to align the selected objects to each other.
e. Use Distribute Vertically to distribute the selected objects to each other.
Figure 3: Position for Rectangle Shape on Slide 2
3. On Slide 3 ("Check Your Tools"), convert the numbered list into the Horizontal Bullet List SmartArt layout as shown in Figure 4 to see if it makes the content more noteworthy.
a. Change the layout of the SmartArt to Vertical Bullet List shown in Figure 5.
b. Apply the Intense Effect SmartArt style in the Best Match for Document section.
Figure 4: Horizontal Bullet List Layout
Figure 5: Vertical Bullet List Layout
4. With Slide 3 still displaying, insert a hyperlink from the "Be Prepared!" text to: https://www.cengage.com/
5. On Slide 4 ("Order Plants"), rearrange objects on the slide for a better effect as follows:
a. Change the color of the purple arrow to Green, Accent 1, Darker 25% (5th column, 5th row in the Theme Colors palette).
b. Apply the Glow: 11 point; Green, Accent color 1 Glow shape effect to the arrow.
c. Send the green arrow to the back of the slide.
d. Flip the arrow horizontally.
e. Group the arrow, the picture, and the "Set a Budget!" text box into one shape.
6. On Slide 5 ("Prune Trees and Shrubs"), highlight the content by inserting a picture in a shape as follows:
a. Insert the Diamond shape from the Basic Shapes section of the Shapes gallery.
b. Resize the diamond shape to a height of 4" and the width to 4".
c. Insert the file Support_PPT365_2021_2b_Pruning.jpg available for download from the website as a picture fill in the shape.
7. With Slide 5 still displaying, show the Ruler and Guides, align the shape to the guides as shown in Figure 6, and then hide the guides.
Figure 6: Position of Picture on Slide 5
8. Delete Slide 6 because it is no longer necessary.
9. With the new Slide 6 displaying, change the color of the SmartArt outline to Green, Accent 1, Darker 25% (5th column, 5th row in the Theme Colors palette).
10. Add slide numbers and footer text to complete your presentation as follows:
a. Insert a slide number on all slides except the title slide. (Hint: Use the Don't show on title slide check box in the Header and Footer dialog box.)
b. Enter the following text in the footer: Get Ready for Spring! and apply to all the slides in the presentation except the title slide.
In Slide Sorter view, your presentation should look like the Final Figure on the following page. Save your changes, close the presentation, and exit PowerPoint. Follow the directions on the website to submit your completed project.
Final Figure
© SpeedKingz/Shutterstock; © malinkaphoto/Shutterstock; © Nataliia Melnychuk/Shutterstock
-
 LIVE
LIVE
Dr Disrespect
4 hours ago🔴LIVE - DR DISRESPECT - BATTLEFIELD 6 - THE WAR BEGINS | BF6 LAUNCH DAY
2,143 watching -
 LIVE
LIVE
Sean Unpaved
1 hour agoTNF Shocker: Giants Stomp Eagles, Cubs Claw a Game 5, Weekend NFL/CFB Best Bets!
151 watching -
 1:05:42
Dear America
1 hour agoShould Christians Celebrate Halloween?
1.06K2 -
 2:03:24
The Culture War with Tim Pool
2 hours agoAntifa Is A Terror Organization, Crackdown Coming As Leftists Defend Violence | The Culture War
77.9K103 -
 28:39
28:39
Afshin Rattansi's Going Underground
5 days agoThe Trump Plan to Save US Economic Hegemony You Haven’t Heard Of (Jim Rickards)
3.05K2 -
 LIVE
LIVE
Lara Logan
15 hours agoROSEANNE UNLEASHED: Bolder Than Ever, Plus an Exclusive Peak at Her New Show | Roseanne Barr | Ep 39
306 watching -
 1:14:27
Steven Crowder
4 hours agoTrump Gets Screwed out of Nobel Prize - And They're Actually Thrilled About It
148K232 -
 46:24
46:24
The Rubin Report
2 hours agoListen to Dem Stutter as He’s Forced to Admit Trump Did the Impossible
34.5K14 -
 DVR
DVR
Neil McCoy-Ward
50 minutes ago🚨 NATO Just Announced WHAT?!
-
 LIVE
LIVE
The Shannon Joy Show
2 hours agoCountdown To SJ Live - Hey Fam Town Hall 12pm ET LIVE! Tune In HERE
43 watching