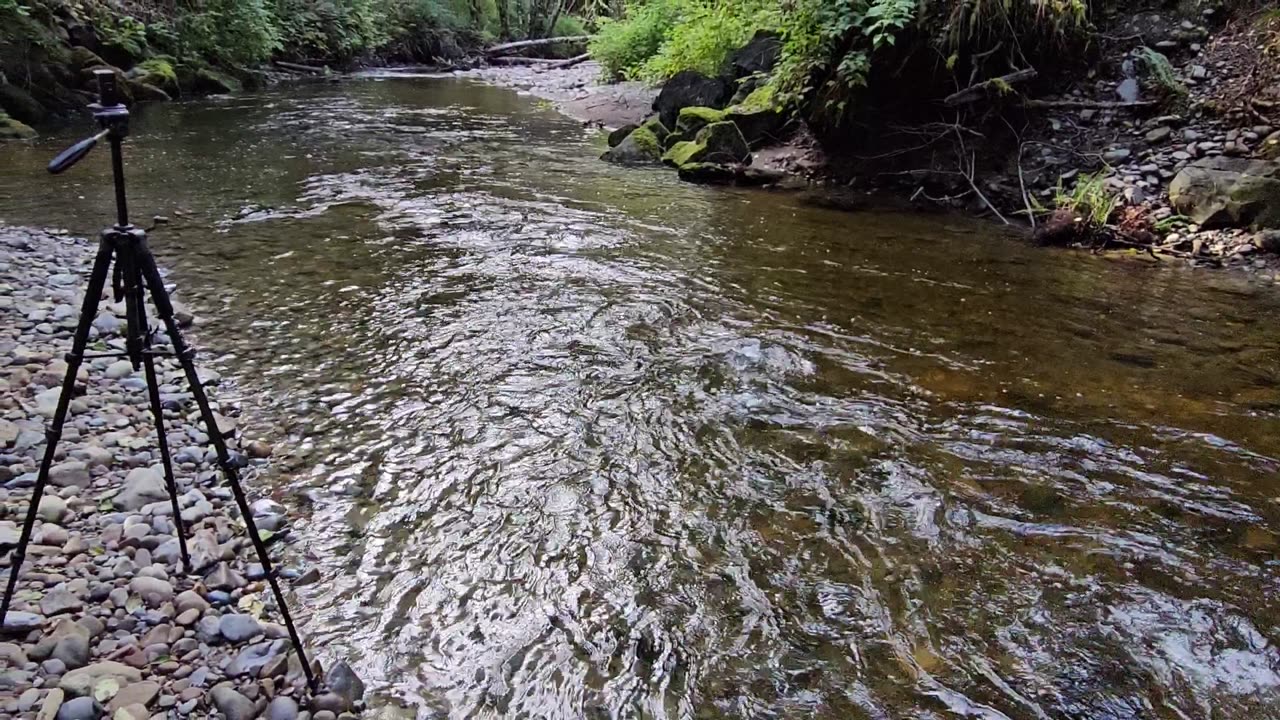
Retrieving the Camera (Part 2)
5 days ago
19
This is approximately one week after Part 1, and immediately after https://rumble.com/v7043ts-creek.html was shot.
IRL videos @ https://rumble.com/c/RedsMildAdventures
Game videos @ https://rumble.com/c/c-7167080
Photos @ https://redsmildadventures.wordpress.com/
Donate @ https://ko-fi.com/redsmildadvendures
Loading 3 comments...
-
 52:28
52:28
RedsMildAdventures
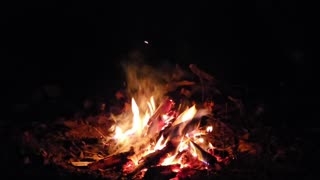
1 month agoIt's cold tonight. Let's have a fire.
497 -
 17:37
17:37
MetatronHistory
20 hours agoThe REAL Origins of the GREEKS
4.46K9 -
 1:19:32
The Daily Signal
5 hours ago $1.05 earned🚨BREAKING: James Comey & Letitia James NOT "Off the Hook" on Indictments, Sen. Kelly Court Martial?
1.42K -
 LIVE
LIVE
Drew Hernandez
20 hours agoBONDI DOJ BLOWS IT ON COMEY/LETICIA INDICTMENTS?!
902 watching -
 LIVE
LIVE
PandaSub2000
4 days agoLIVE 10:30pm ET | CARMEN SANDIEGO
145 watching -
 12:10
12:10
Robbi On The Record
1 day ago $0.12 earnedKarmic Disclosure and Predictive Programming
6.7K3 -
 4:57
4:57
Gamazda
3 hours ago $0.21 earnedAerosmith - Dream On (Piano by Gamazda)
4.12K4 -
 8:12
8:12
Freedom Frontline
6 hours agoChip Roy DESTROYS Democrat After She Explodes Over Shutdown Truth
2.71K -
 LIVE
LIVE
We Like Shooting
14 hours agoWe Like Shooting 638 (Gun Podcast)
164 watching -
 46:09
46:09
MattMorseTV
3 hours ago $0.13 earned🔴Bondi just DROPPED the BALL... BIG TIME.🔴
16.8K91