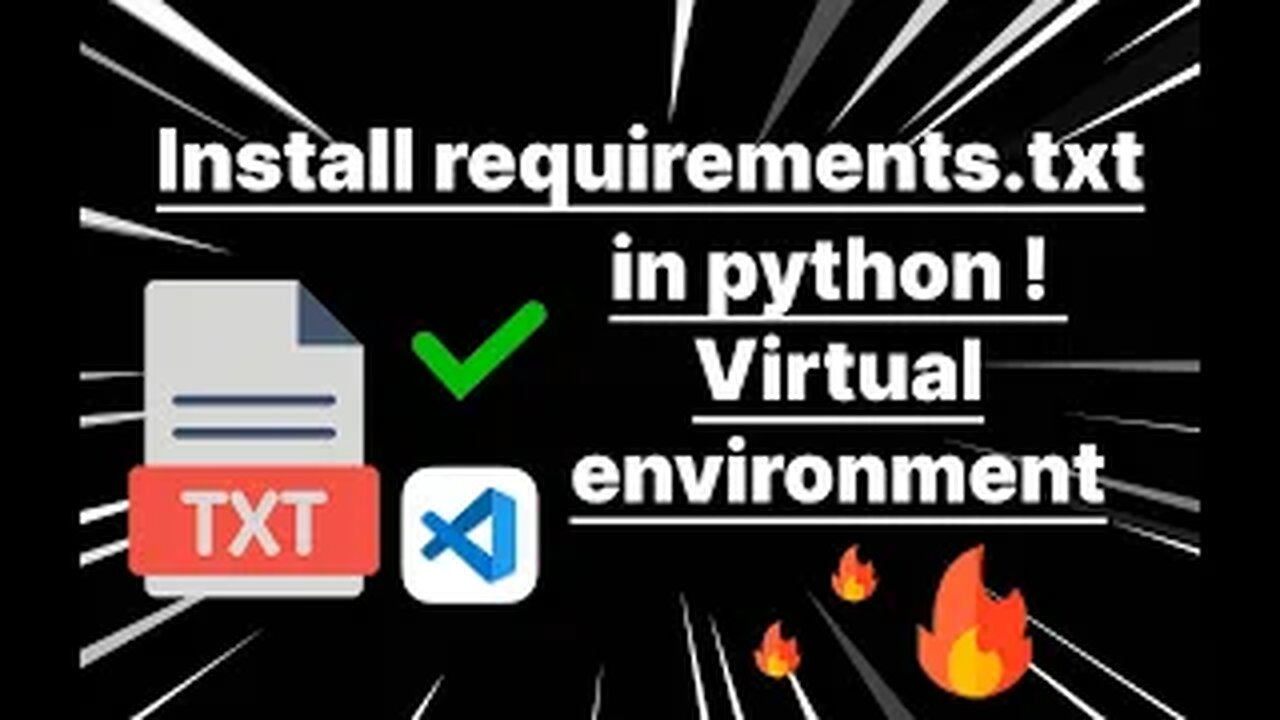
How-To Install Requirements.txt in a Python Virtual Environment | VS Code Tutorial for Beginners
Just getting started with Python and VS Code? Don’t worry, I’ve got you covered! In this beginner-friendly tutorial, I’ll walk you through the step-by-step process of installing all the dependencies from a requirements.txt file inside a virtual environment using VS Code. No need to feel overwhelmed—it's easier than you think! 🎯
🔹 What you’ll learn:
How to create and activate a virtual environment in VS Code.
The simplest way to install all your packages using requirements.txt.
Tips to make managing your Python projects smooth and hassle-free.
This video is perfect for anyone new to coding or setting up Python environments for the first time. Hit that 👍 button, subscribe, and leave a comment if you found this helpful—let's make learning Python fun and easy!
🔹 Pre-requistics
1. Install Python. Check this link: 👉🏻 https://youtu.be/0ASc9ATtzFE?si=Ii9vo6Q1MO6Vp7xr
🔹 Commands used
1. python --version
2. python -m venv (name you want to give to environment). For Example : python -m venv clonem
3. source (name of your virtual environment)/bin/activate. For example : source clonem/bin/activate
4. git clone (Repo Link) For example : git clone https://github.com/learninghub-official/Virtual-Assistant.git
5. pip install -r requirements.txt
🔹 Time stamp for ease
00:22 Setting up Virtual environment
03:40 Installing requirements.txt
04:40 Deactivating Virtual environment
-
 3:32:44
MattMorseTV
8 hours ago $25.76 earned🔴Bannon x Epstein INTERVIEW.🔴
64.4K106 -
 2:41:07
Tundra Tactical
7 hours ago $2.94 earned🛑🚨Dan Wesson DWX GIVEAWAY Announcement!! 🚨🛑 Tundra Tactical Recaps Shot Show 2026
29.1K -
 1:54:51
DLDAfterDark
7 hours ago $2.16 earnedThe Truth About Forced Reset Triggers - Rare Breed Drama & Tim Hoffman's Super Safety
27.5K4 -
 17:42
17:42
WhatCulture - Film
1 day ago $2.83 earned18 Movie Mistakes You Can Never Unsee
30K2 -
 4:16
4:16
RidiculousRides
1 day ago $1.49 earnedFrom Lincoln to Legend: Inside the Build of America’s Wildest Off-Road Limo
25.7K2 -
 2:50:23
Barry Cunningham
9 hours agoLIVE TONIGHT: There's Something BIG Going On In Fulton County And The Democrats Are FREAKING Out!
88.6K95 -
 41:34
41:34
Stephen Gardner
8 hours agoTim Walz is DONE! MN Fraud NIGHTMARE Explodes!
38.3K96 -
 9:34:37
Plan ₿ Forum
9 days agoPlan ₿ Forum El Salvador 2026 – Day 2 Live from the WAGMI Stage
434K18 -
 1:15:26
Patriots With Grit
13 hours agoCancer Breakthrough: There Is An Oasis Of Hope | Dr. Francisco Contreras
16.6K4 -
 10:00
10:00
WhatCulture Gaming
2 days ago $0.31 earned8 Video Game Endings That Were Saved By Fans
12.6K1