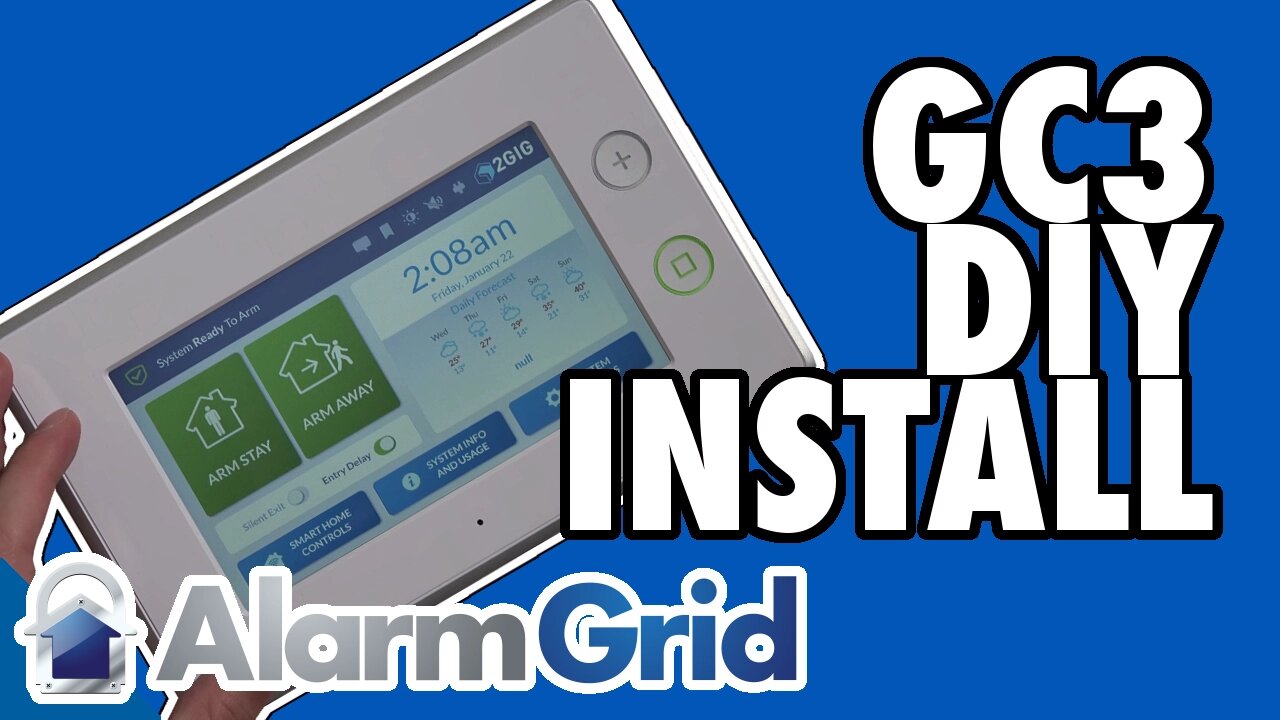
2GIG GC3: DIY Installation
This video tutorial is a complete guide to installing the 2GIG GC3 security panel, including wall-mounting and power supply connection.
Installing a home security system is easier than you might think. While professional installation is available, most do-it-yourselfers prefer taking a more hands-on approach with their alarm system. This video guide covers the entire installation process for the 2GIG GC3 security system.
The 2GIG GC3 is a touchscreen system which connects to sensors throughout the house. Alerts are sent to the security monitoring center, where agents follow-up with a call to the household or emergency services.
The control panel, roughly the shape of a license plate, needs to be installed on a wall in your house. Placement is important. The panel needs to be close to your main entry/exit point but also central enough in the house to reach all the wireless sensors. The best strategy is usually to power up and program your system before sawing into the wall or snaking any cable.
When you’ve found the proper placement you’re ready to physically mount the back plate. Using a sheet rock saw, you’ll cut a hole in the wall. Simply trace the outline in the back plate. Make sure the back plate is level. The video shows you what a properly mounted back plate will look like.
Before mounting the touchscreen you’ll want to snake the LT cable through the wall. You can use an LT barrel connector or the included dongle. The video shows you how to connect both types to the back of the control unit.
Once the unit has a power supply, you’re ready to hang the panel on the frame of the back plate. There’s an easy trick to do this. The top of the panel hooks to the top of the back plate. Then the unit hinges down and snaps into place at the bottom. This can be a little confusing if you’re not used to it, but the video has a full demonstration.
The panel operates off AC transformer power from the wall but also has a battery backup. When you first power the system on the battery backup will begin charging automatically.
The video also shows you how to power cycle the unit. You’ll remove the unit, unplug the power cord and then disconnect the battery. A hard power cycle will reset the unit completely.
The video explains the process for custom-cabling the power supply. Because the AC adaptor has to be plugged in outside the wall, you might want to create a custom solution for hiding the power cables. We offer suggestions for how to do so.
The unit is now plugged in, powered up and ready to go. The next steps are adding zones, configuring users, changing access codes and more. We cover all operations in additional videos.
Do-it-yourselves have nothing to fear with the 2GIG GC3. Installing the system is quick and easy, and this video guide is here to help you every step of the way.
-
 4:37
4:37
Alarm Grid Home Security DIY Videos
2 years agoQolsys IQ Panel 4: Change the Master Code
36 -
 LIVE
LIVE
SternAmerican
1 day agoELECTION INTEGRITY CALL HOSTED BY STEVE STERN - WED, FEBRUARY 4 @ 2PM EST
236 watching -
 17:49
17:49
The White House
2 hours agoFirst Lady Melania Trump Meets with Freed American-Israeli Hostage Keith Siegel
8.26K10 -
 DVR
DVR
Sean Unpaved
3 hours agoKirk Herbstreit Joins The Show! | UNPAVED
21.4K -
 1:00:36
Timcast
3 hours agoTHEY HAVE CAVED
179K70 -
 1:12:54
BonginoReport
4 hours agoMinneapolis Mayor Needs a Reality Check! - Scrolling w/ Hayley Caronia (Ep.228)
96.8K52 -
 2:04
2:04
Simply Bitcoin
21 hours ago $0.57 earnedRumble Wallet Walk Through
24.5K6 -

Wendy Bell Radio
6 hours agoTerm Limits Fix All This
59.4K76 -
 1:07:03
Framers View
4 hours agoFramersView
19.7K3 -
 LIVE
LIVE
LFA TV
18 hours agoLIVE & BREAKING NEWS! | WEDNESDAY 2/4/26
1,833 watching