Honeywell 5811: Replace the CR2032 Battery
This instruction video will explain in detail how to replace the battery in your Honeywell 5811 glass break intrusion detection device.
Honeywell 5811: http://alrm.gd/honeywell-5811
Honeywell CR2032: http://alrm.gd/honeywell-cr2032
Get Monitored! http://alrm.gd/get-monitored
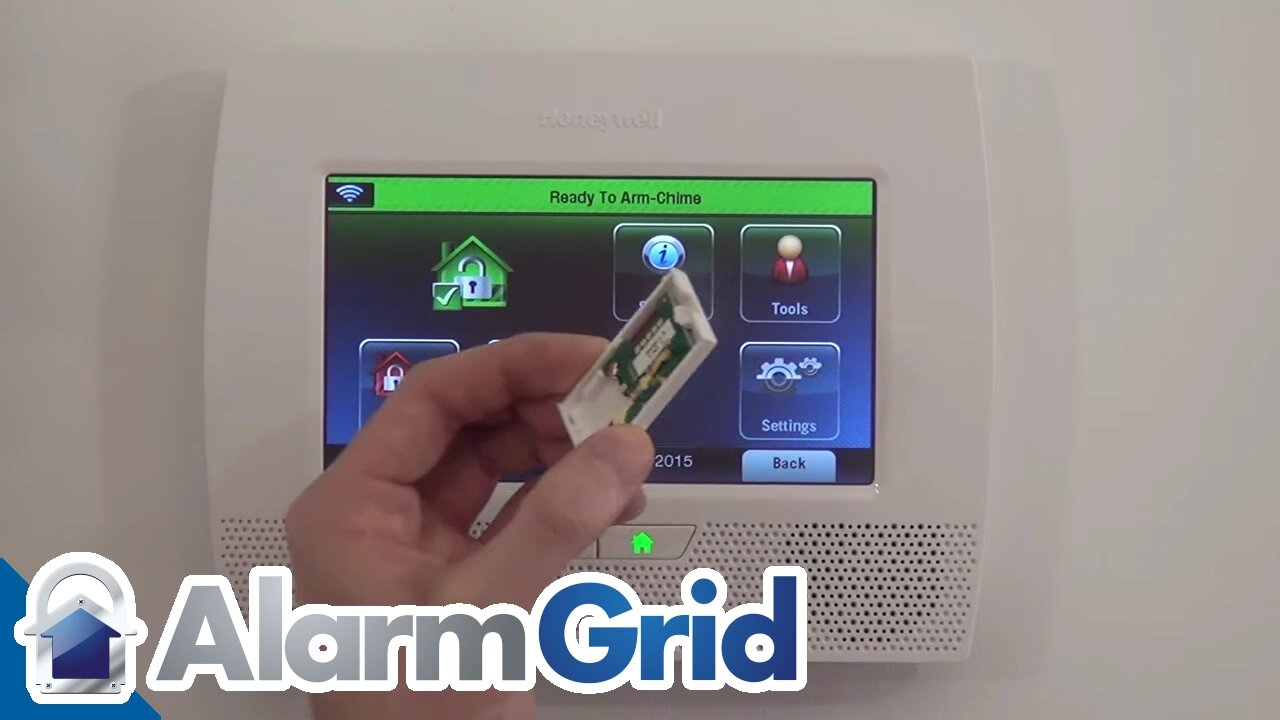
As with any sensor or detection device the circuit board needs power to send alerts to the panel. Wireless sensors use a battery for their power source and batteries will die over time. This video will show you the precise method to replacing the CR2032 battery inside your Honeywell 5811 sensor.
It is important to note that the disc style battery, such as the CR2032 has a longer life expectancy than a 9-volt style found in most smoke detectors. For 9 volt batteries you should replace them every six months.
With a CR2032 the expected life span is about 12 months. However, we suggest you still replace all detector and sensor batteries every 6 months to ensure optimal performance. This will also give you a schedule to mark on your calendar so you don’t forget which batteries still need replacing.
The battery in the Honeywell 5811 uses metal tab contacts. There is a contact on the base of the sensor. As the video will warn you, the battery lies on top of the metal tab. You should never try to force or slide the battery underneath this tab.
Just like every battery there is a positive and negative terminal. On the CR2032, each side of the battery is a terminal. It is contact only, so there is nothing to plug in like there is with a 9-volt style battery.
The base of the sensor will show you that the negative side of the battery should face the back of the unit. The video will point out where this diagram is located in case you ever forget which way the battery goes.
There is a housing slot for the battery built into the sensor base. Once you identify the negative side of the battery you just fit the battery into the slot and press it firmly to lock in place. Our guide will show you where the negative indicators on the battery are.
Once the battery is securely in place, you need to install the cover plate. This will close the contact to the battery and complete the power circuit. Once this is done the sensor is once again active and you can remount it.
If you did not remove the sensor from its mount, you don’t need to remount. The video discusses the importance of the battery and how to ensure it is enrolled to the panel.
In the event it needs to be enrolled, we have a step-by-step video that will show you the different methods of enrolling your sensor to the control panel. After you have the sensor powered up with a correctly installed battery, and the sensor is enrolled into the control panel, you will be ready to use the sensor to detect any glass break intrusion in the area that sensor monitors.
-
 3:39
3:39
Alarm Grid Home Security DIY Videos
2 years agoQolsys IQ Panel 4: Using Dual Path Monitoring
21 -
 1:25:16
efenigson
1 day agoDigital Money or Digital Prison? - Nick Anthony | You're The Voice - LIVE from Lugano PlanB Forum!
4.46K3 -
 13:26
13:26
Cash Jordan
15 hours ago“PORTLAND MOB” Storms ICE HQ… ‘COMBAT’ Troops Respond With EXTREME FORCE
9.06K30 -
 16:00
16:00
Demons Row
13 hours ago $4.23 earnedBIKERS OF FLORIDA 💀🏍️ Outlaws, Warlocks, Mongols & the Wild South
6.26K8 -
 22:01
22:01
Jasmin Laine
16 hours agoTrump’s BRUTAL WARNING Leaves Canada Speechless—America STUNNED
8.57K39 -
 11:42
11:42
China Uncensored
17 hours agoThe Chinese Military Turns Its Gun on Xi Jinping
7.6K19 -
 2:36
2:36
The Official Steve Harvey
16 hours ago $1.48 earnedThis Is Bigger Than Comedy — It’s About Saving Young Men
6.96K2 -
 8:09
8:09
Hollywood Exposed
19 hours agoMatthew McConaughey EXPOSES The Real Reason He Left Hollywood
6.33K8 -
 29:38
29:38
Stephan Livera
2 days ago $5.12 earnedDay 2 - Stephan Livera hosts Plan B Podcast in Lugano
11.8K2 -
 1:01:47
vivafrei
18 hours agoLive from Lugano Plan B in Switzerland w/ Efrat Fenigson and Prince Filip Karađorđević!
57K5