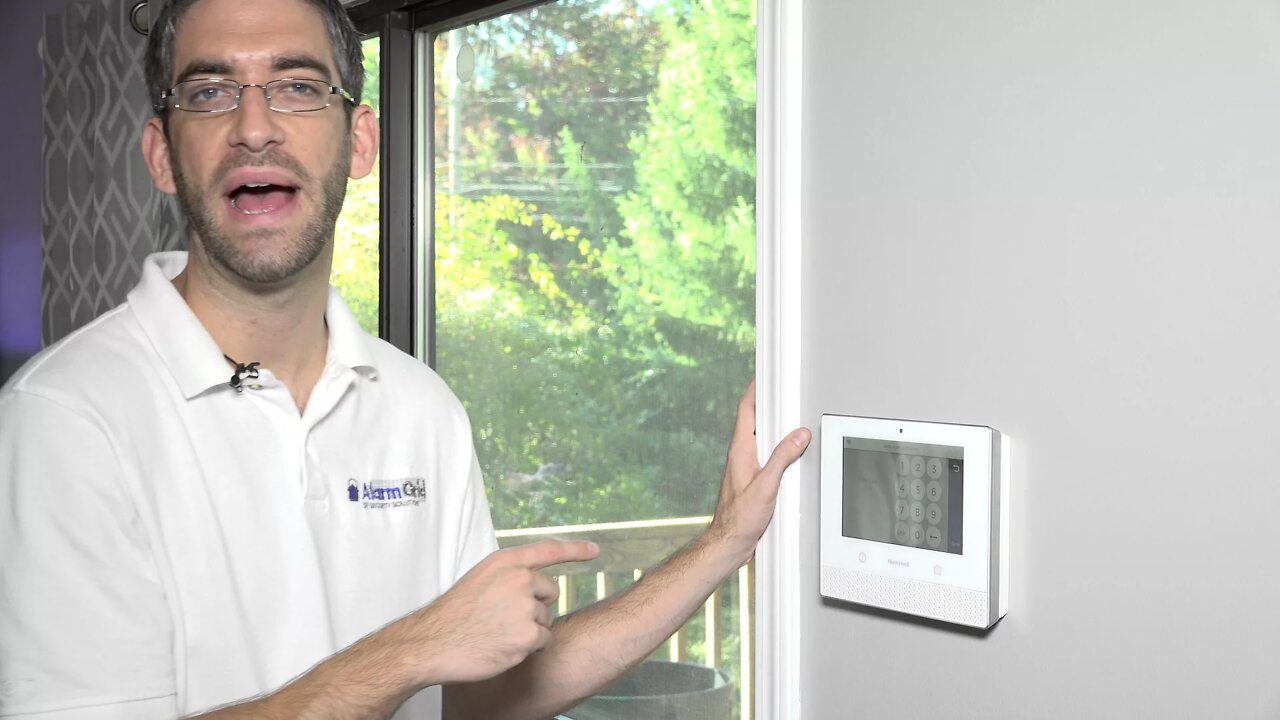
Lyric Security System: Installer Code
This video tutorial will explain the installer code as it relates to the Honeywell Lyric security system.
Honeywell Lyric Controller: http://alrm.gd/lyric-controller
Get Monitored: http://alrm.gd/get-monitored
In our previous video we discussed the features allowed to the end user of the Honeywell Lyric Security System by using the master code in the tools menu of the control panel. In this video we will show you the advanced features available using the installer code from the tools menu.
If you would like to view the first part of this series you can look for our part 1 video entitled Lyric Security System: Master Code P1.
Using the installer code is generally used during initial install and set of of your system. For day to day activities you will need to use the master code, which is designated to a specific user.
When using the installer code from the tools menu log in, you will have different options available. This video will discuss these options in detail. Follow along with the video to learn about these features and functions.
The main menu will have three options: Testing, Event Log, and Programming. Testing consists of deep level trouble shooting and testing that should be done during the initial set up as well as when a problem arises with communication or is a sensor fails.
The event log is the same as with the master code, but is also placed here in the event that the installer needs access. This way the installer doesn’t have to exit out and use a different code to view the event log.
When you access the programming sub menu, the true nature of the installer code is shown. Here there are many different deep level menus that will allow for complete control of the system.
You can change your installer code from this screen. Unlike the master code, the installer code is the only code that can be changed from this menu. You should also note that you cannot change the installer code from the master code menu.
The most used feature will be the zones menu. From this menu you will be able to view and edit your zones. This is the menu option that will be used to enroll sensors and devices into the system as well as defining the zone parameters.
The communications sub menu can be used for diagnostic purposes with the wireless network and other communications the control panel is using. The video will cover all of these options in greater detail.
One feature is the ability to use the language menu to set up different languages for installer and user menus. This will come in handy if the installer is English but the home owner is Spanish. You can set the system to use Spanish for all functions and features while leaving the installer menu and options in English.
If you want to dive deeper into each of these functions, we have videos that cover each menu in high detail. Feel free to view the other videos and get the most out of your system.
-
 6:05
6:05
Alarm Grid Home Security DIY Videos
1 year agoPROA7 or PROA7PLUS: Using Lyric Sensors
22 -
 0:25
0:25
ViralHog
4 years ago $0.03 earnedSecurity System Hits A Snag
218 -
 LIVE
LIVE
Bitcoin Infinity Media
1 day agoBitcoin Infinity Academy at Plan B Forum 2025
1,101 watching -
 18:12:15
Side Scrollers Podcast
1 day ago🔴SIDE SCROLLERS SUB-A-THON🔴FINAL DAY!🔴Craig Makeover + US Dart Throw + More!
542K31 -
 2:05:58
TimcastIRL
10 hours agoSHOTS FIRED, Leftists ATTACK Coast Guard & Feds In SHOCK Terror Attack | Timcast IRL
250K174 -
 1:07:25
Man in America
16 hours agoThe BRICS War on the Dollar Just Hit Endgame—What's Next Changes EVERYTHING
47K15 -
 3:23:45
SOLTEKGG
7 hours ago🔴LIVE - Community Game Night - GIVEAWAY
35.4K2 -
 8:22:30
SpartakusLIVE
9 hours ago#1 Friday Night HYPE, viewers GLUED to the screen
60.6K -
 55:50
55:50
NAG Podcast
8 hours agoAda Lluch: BOLDTALK W/Angela Belcamino
27.6K2 -
 2:45:31
VapinGamers
5 hours ago $10.43 earnedKellan Graves - Fallen - Game Review and Game KeyGiveaway - !rumbot !music
26.5K